Showing posts with label printing. Show all posts

Sunday, February 1, 2015

Fabric Painting- On A Roll! Brayer Printing

I use inexpensive brayers, found at any hardware or dollar store, to create textured printing. Use inexpensive sponge, foam and textured brayers. 


Paint a sponge brayer with a textured medium to create unique textural mark. Do you still have your old glue gun? Fire it up and decorate a cheap sponge brayer for a very personal mark-making tool.


You can also use any recycled cardboard tubes, toilet paper, corks, even old thread spools to make your own brayers.
Add designs using foam stickies, string, elastic, cloth scraps and you’re on a roll! Try carving an old candle!

Print on a padded surface for the best detail. I have a print/ironing table in my studio. It can be made with firm batting or acrylic wool covered with duck or some sturdy fabric. I staple it directly to the underside of the table. It can be removed when it starts to turn multicolored and re0worked into delightful painted fabric for your art projects.
Hint- I keep my paints upside down when stored. This way I can see the colors readily, the paint is ready to squirt out of the container and it helps seal the paint container for less evaporation.
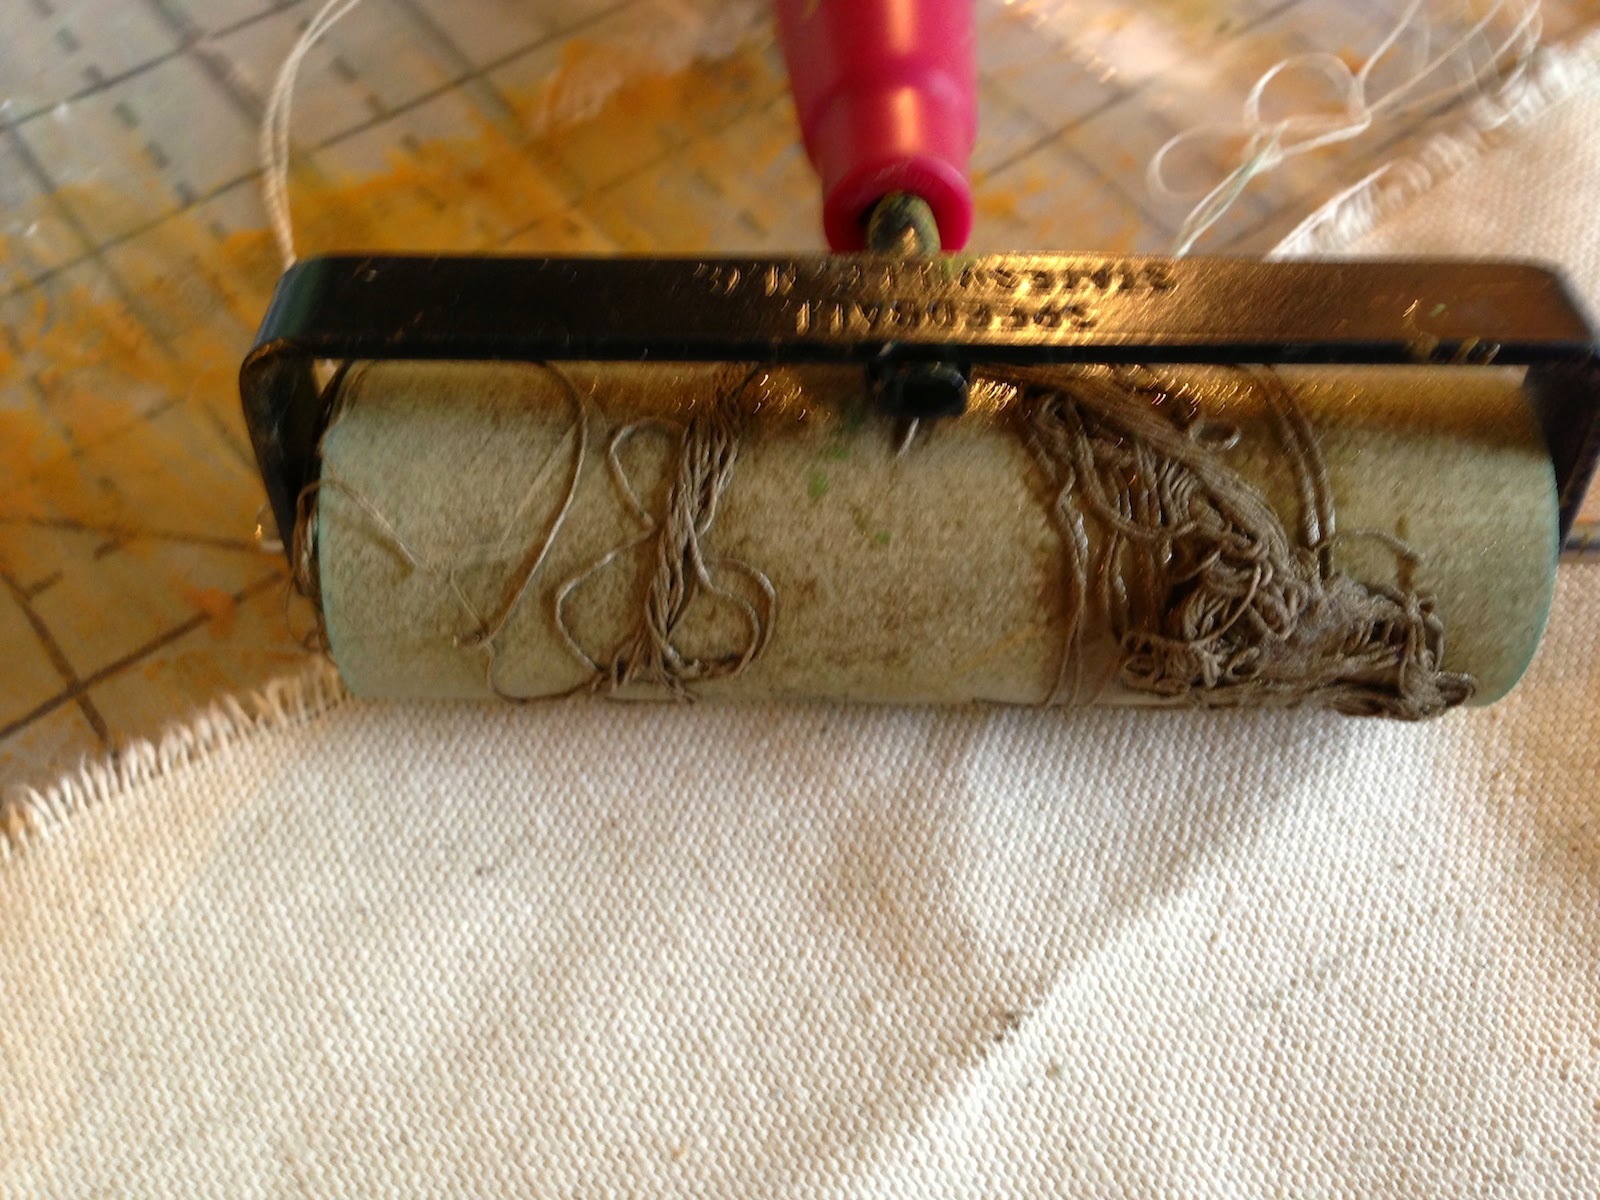
 simple thread tangled on a brayer

Tuesday, May 6, 2014

The More I Make

the more I want to make!
Create

Be
 Express
 Try this,
 or that!
 Lets see,
what it will be!

Pix from my workshop- STALKING THE WILD PRINT

Sunday, November 4, 2012

Recent work-12x12

Early this year I printed off some images of a variety of things- journal pages, leaves, etc.
I really like working with my journals this way and plan on a series. Here are a few details of them so far.. They are all 12x12 's and some will be mounted on canvas.


Wednesday, February 22, 2012

Fabric Printing with Georgia on My MInd


I found a carved woodcut of Georgia O'Keefe that my daughter, Theresa, made in art school. 
I decided to print some shirts. 
I used fabric screening paints but any thickish paints or dyes would work. Roll out your paint on a palette and roll onto the woodcut. You can also make a cut out of a Styrofoam tray that you usually discard. You know the ones veggies and such come in at the grocery store.
 Be careful not to apply too much paint at once or it might seep into the recessed part of the woodcut design.
You can place an old newspaper, magazine or plastic in-between the shirt front and back to protect the back from paint seepage. 


The woodcut is inked and is ready to print. Flip and position where you want it. I print on a table that has a low loft firm batting covered with cotton duck. Printing works best on a padded surface. 
I used the antique iron to press down, 'ironing' the print onto the shirt.
Ta- Daaa!
OK, 3 shirts is enough. It is fun though!
Related Posts Plugin for WordPress, Blogger...