This post deals with several options to create the Black and White image you will need to create a Thermal Fax Silkscreen.
 |
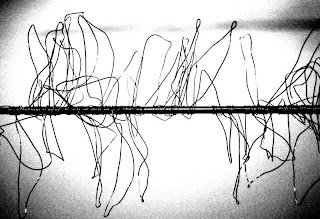
Fiber sculpture by Anda Klancic
The best screens for thermal fax need to be created from photos that are pure black and white photos.
|
The original image is first simply converted to a Black and White image. Go to Image>Adjustments >Black and White. I duplicated this image to use so I could retain the original Black and White image to return to to use again if I chose.
For the first option, I used Filters. Filter>Sketch>Stamp. This image resulted which could be used for a negative silkscreen. All the black areas would be burned. This is where the paint will be placed.
I prefer a positive image. To create this, go to Image.Adjustments.Invert. This will invert the colors so the subject in this photo is in black. The result is too thick, not detailed enough for what I had in mind.
As with most everything, there are different ways to do things. For above image, I returned to the original Black and White image and went to Image>Adjustments>Brightness/Contrast. A small window with a slider will pop up. I slid the brightness first to lighten the image, than the contrast to darken the subject. I needed to up contrast several times to get a high contrast or dark subject. I decided this image was too delicate.
For this final image, I again returned to the original Black and White Image. This time I went to Image>Adjustments>Curves. A pop up window will show a scale. I slid the small triangle to the right, while watching my image. When I saw the desired darken image, I went to Adjustments> Brightness/Contrast and upped the contrast to create a dark high contrast image. This highlites all the veins in the leaf that I found so attractive. Perfect! This result has the detail I want and is dark enough to create a great Thermal Fax SilkScreen!
Copy and paste image onto a letter size file with a 1/2" border. Repeat until you have 4 images on a letter size file.