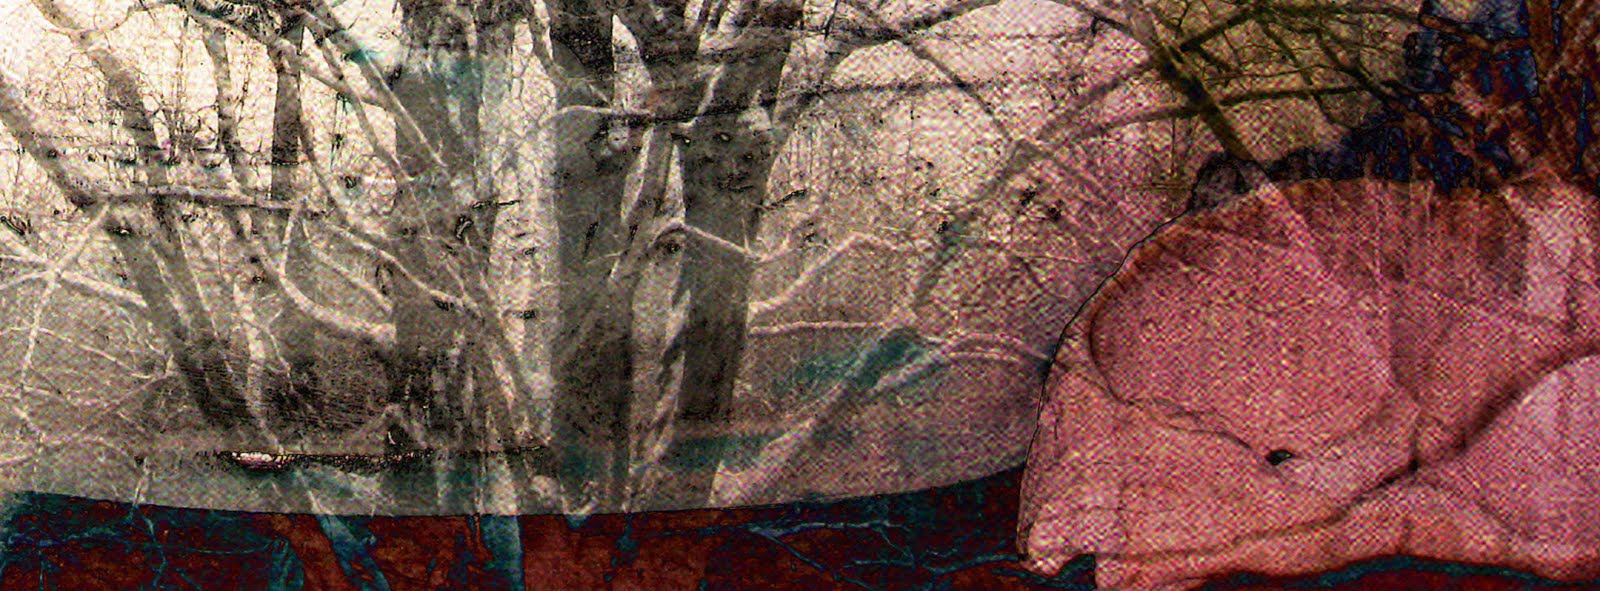
Taking A Break- print on textured molding paste medium and mounted on handmade paper. Printed with Epson WF 410 printer
Leaves Under Ice- print on textured molding paste medium and mounted on handmade paper. Printed with Epson WF 410 printer.
Technique available as a DVD- https://www.interweave.com/store/digital-imagery-in-fiber-art-download-in-hd
Taking the Year Off- watercolor paper with black gesso print off, printed and mounted on handmade paper. Printed with Epson WF 410 printer.
More ideas in my book- http://tinyurl.com/z7jcb2e.
Work may be available on UpLIFTMeNTs.
follow me on Instagram- Wen Redmond (@wenredmond) • Instagram photos and videos
Website- http://www.wenredmond.com/
Saturday, June 29, 2019
Saturday, June 15, 2019
CFAL= Contemporary Fiber Artists of Louisiana = Fun+ Excitement!
I'm back from a brief visit with the Contemporary Fiber Artists of Louisiana.
I taught my Digital Explorations Workshop and we had a blast!
The group was tuned in and ready to experiment! My kind of crowd.
I think everyone came out of the workshop with a completed sample accordion book.
Take a look!
v
My host took me around on my last day. We had a blast!
Thank you Donna!
Tuesday, May 28, 2019
Layering Images with Painted Fabric
| original photo |
![]() |
| black and white |


More ideas in my book- http://tinyurl.com/z7jcb2e.
Work may be available on UpLIFTMeNTs.
follow me on Instagram- Wen Redmond (@wenredmond) • Instagram photos and videos
Website- http://www.wenredmond.com/
Saturday, May 11, 2019
Capturing Moments
| detail |
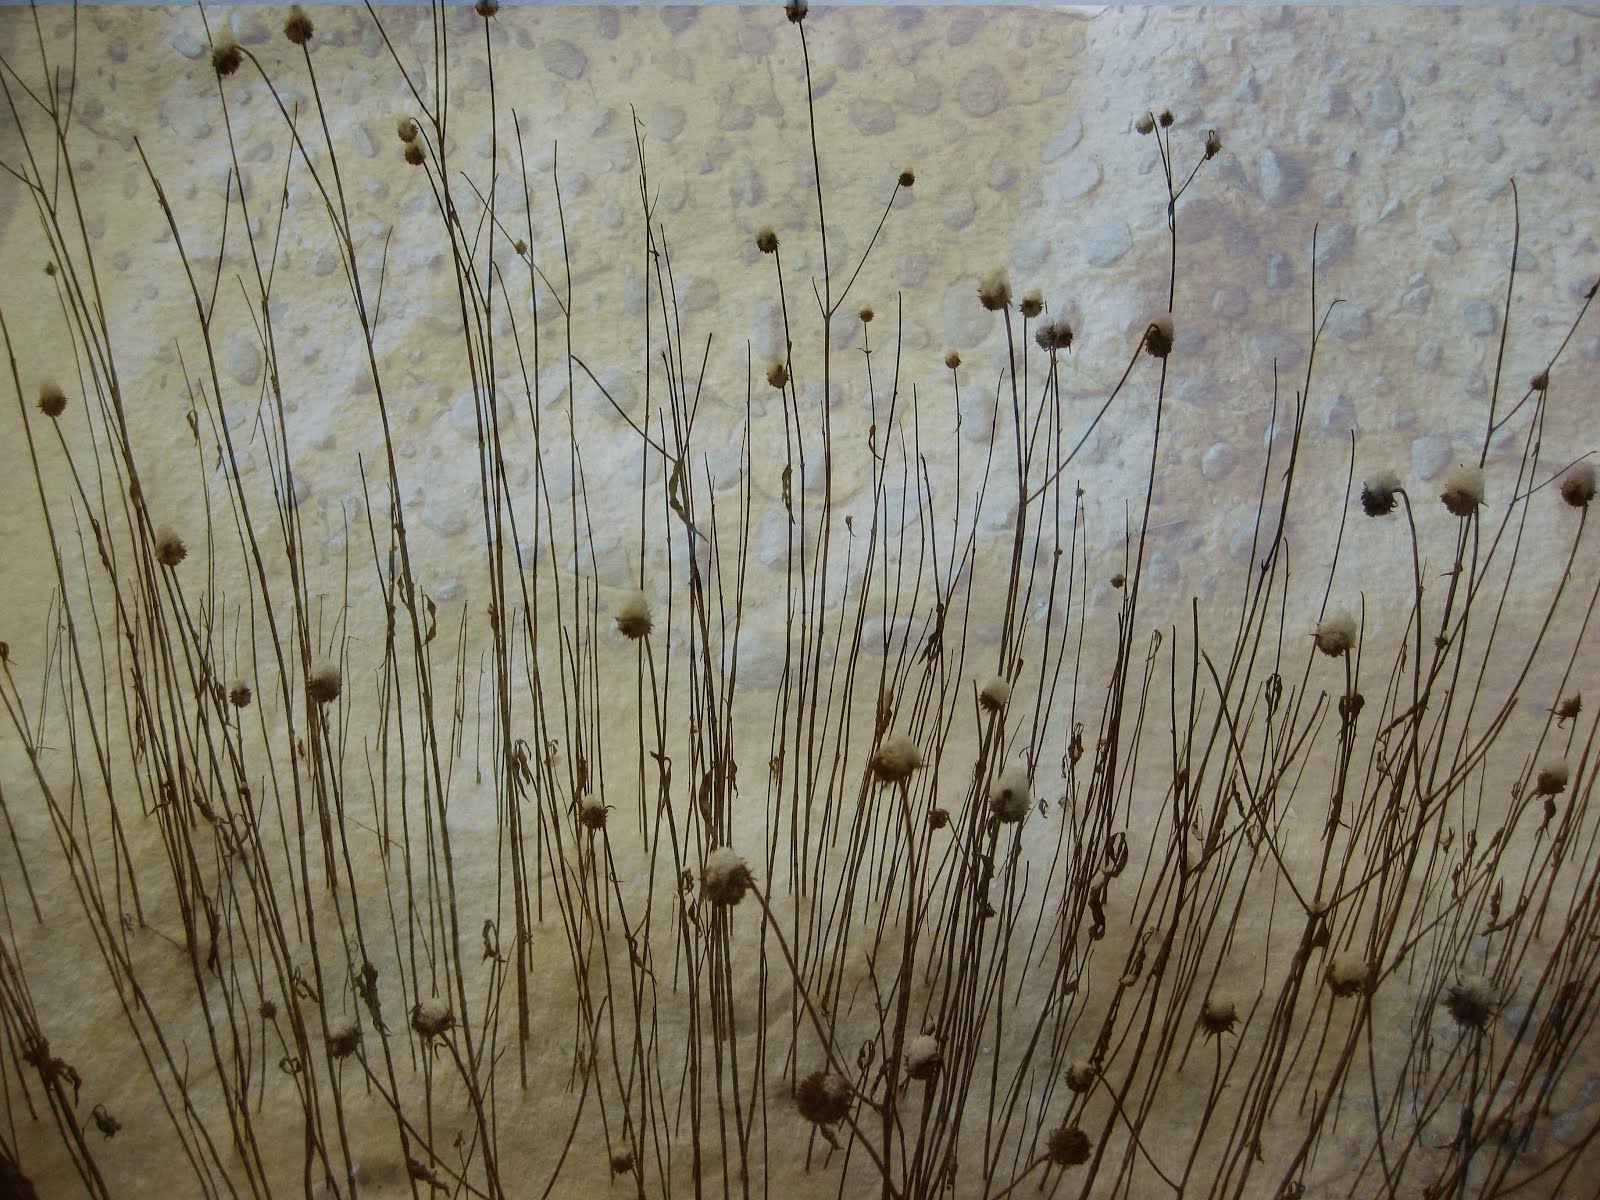
combination of hand dyed silk organza, string and paper.
Dying silk organza allows it to retain it's transparency and makes a great layering mechanism. Each layer combines in color and texture to present differently than simply layered alone. This is a great advantage when creating collage.
A string grid was placed between the layers of silk organza, added paint, oil stick and specialty mediums and allowed to dry.
Several holes were cut and black and white inkjet prints of grasses were adhered in those places, to peek through to the front.
This was mounted on wooden stretcher bars with a white interfacing backing. The silk retains it's transparent quality so that when light strikes this work, it almost glows.
More ideas in my book- http://tinyurl.com/z7jcb2e.
Work may be available on UpLIFTMeNTs.
follow me on Instagram- Wen Redmond (@wenredmond) • Instagram photos and videos
Website- http://www.wenredmond.com/
Monday, April 29, 2019
Idea for Segmented Fiber Photo
| original image |
![]() |
| printed on silk noil & ready to cut |
![]() |
| choose a pattern for interior cutting |
![]() |
| each section of the image is painted differently |
![]() |
| sections are fused to felt background or batting & ready to quilt |
![]() |
| dried & ready for backing |
![]() |
| or another idea for mounting
More ideas in my book- http://tinyurl.com/z7jcb2e.
Work may be available on UpLIFTMeNTs.
follow me on Instagram- Wen Redmond (@wenredmond) • Instagram photos and videos
Website- http://www.wenredmond.com/
|
Monday, April 22, 2019
The Bigger Picture- Dividing Photos
Sometimes you just want a bigger final size for
your project than what your printer can print.
Divide and Conqueror!
You can divide your photograph into
sections, copy and paste into smaller files that can be printed. After printing they can be sewn, glued
or collaged together to create a larger image.
Duplicate your photo and open in your desired photo
editing program. Resize your image to match the size you want your final image
to be. Make the window larger so image floats on a gray or neutral background.
This aids when selecting the photo sections.
After deciding how many sections you need and how large each section would be to achieve your final project size. You will need to select each section, copy and paste into a new file. Label each new file to keep the printing and piecing order clear. For instance, I label the top right of a 9 sectioned photo, TR1, the middle of the top, MT2 etc. Continue to copy and paste to new files, label, until you have each section in a new file.
![]() |
| section |
Print each section or file onto the prepared
substrate. As you print each section, label with the
file name, making it easier to set up for assembling together when finished. Allow ink to dry, sometimes overnight, before
proceeding with you project.
Tip- There is some websites that will tile a photo for you. An example is ww.blockposters.com. You would download one of your images. Choose your size and the number of prints you want for your finished photograph size and hit enter. The image is converted into PDF files, creating very large versions of your image! You can print immediately or download the files onto your computer.
Tip- Change
the color of each section and print.
Sunday, April 14, 2019
Playing with Layering in PhotoShop Blend app
![]() |
| simple overlay in photoshop blend |
| layering image |
![]() |
| difference |
![]() |
| hardlight blend |
Work may be available on UpLIFTMeNTs.
follow me on Instagram- Wen Redmond (@wenredmond) • Instagram photos and videos
Website- http://www.wenredmond.com/
Thursday, March 7, 2019
Media Mix Creative Photo Transfer on Painted Collage
2019 Benefit Auction
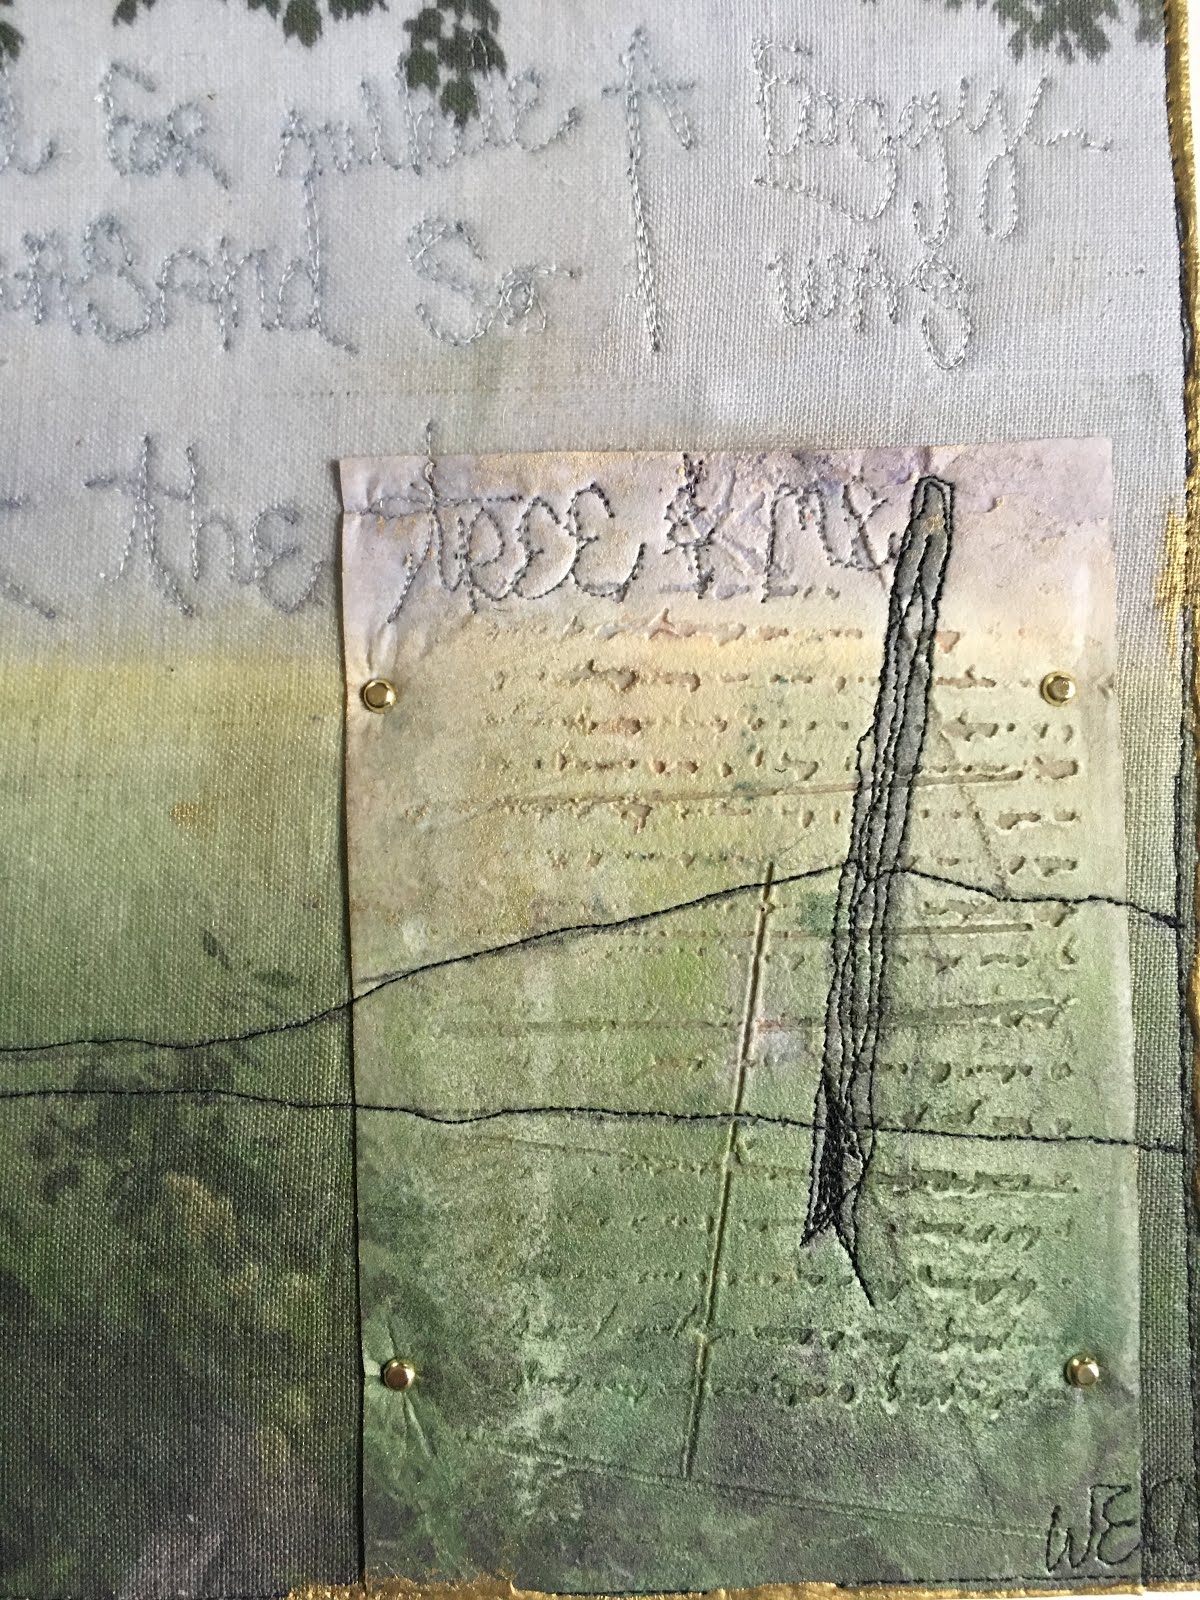
My work for the upcoming 2019 Benefit Auction
digital
processes- printed image on digitally prepared canvas and molding paste.
Molding paste was textured to hint at writing while the quilting is the text of
the muse. Brads attached the molding paste insert, paint seals the edges and
provides an accent. The entire piece is protected with satin varnish.
Monday, March 4, 2019
Painting Thread
Arrange the white or light colored thread in a shallow dish. I use recycled veggie trays. Perfect!
For example, you can find these on Dharma Trading Company- https://www.dharmatrading.com/paints/kits/dye-na-flow-starter-set.html
or
https://www.dharmatrading.com/paints/discontinued-setasilk-silk-paint-2.html
but there are plenty of other sources.
As well as pearl cotton, I use a spool of extremely strong string I found in an antique store.


Wind into a ball of the dried thread so it doesn't tangle or wind onto stick.
Allow the string to set as to dry. Once it's been dry for a couple days, it is permanent. I always test to be sure before using in a project.
I love the variegated results at a faction of the cost of commercial brands! Plus you can mix you own custom colors. Satisfying!
More ideas in my book- http://tinyurl.com/z7jcb2e.
Work may be available on UpLIFTMeNTs.
follow me on Instagram- Wen Redmond (@wenredmond) • Instagram photos and videos
Website- http://www.wenredmond.com/
Wednesday, February 27, 2019
Experimenting with Substrates
It was printed on Mulberry paper fixed to a gold duck tape under collage. Love the texture that shows through.
This time I printed on cheesecloth coated with silver digital grounds by InkAid. This makes the cheesecloth quite stiff but you will still need a carrier sheet.
More ideas in my book- http://tinyurl.com/z7jcb2e. ![]() |
| simular image on collage substrate, clear grounds |
Work may be available on UpLIFTMeNTs.
follow me on Instagram- Wen Redmond (@wenredmond) • Instagram photos and videos
Website- http://www.wenredmond.com/
Subscribe to:
Posts (Atom)