Steps
1
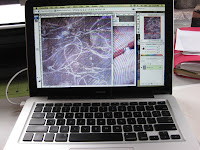
Choose your image and make adjustments.
2
Set up page- file>page set up.
3
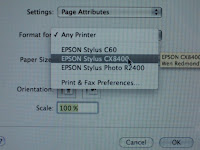
Choose your printer- you will need to do this again in printer window.
4
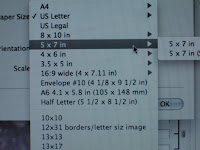
Choose page size of your finished print.
5
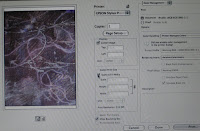
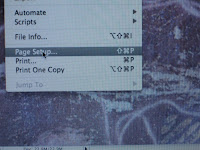
Go to file>print and printer dialogue window pops up.
6
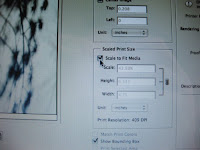
Be sure to check fit to scale box.
7
Print and you're ready to print again.
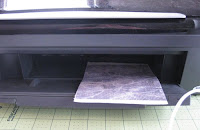
I have been printing on fabric for a number of years now. I first just used my small document printer- a Epson 60 model. I used to use bubble jet and found it was way too much work and not that effective. I now use prepared fabrics- just Google inkjet fabrics and you will find lots with different price points. I print fabric with a Epson 2400. It works very well and the Ultrabright inks on prepared fabric is just about water proof. I tested by soaking printed fabric in a glass of water. It was fine. The printer never gives me trouble except with slippery surfaces like glossy canvas. I need to help that along by lightly pushing it into the printer as it starts to feed, taping the edges or trimming the right corner feeding edge. Just cut your fabric to size and print!
Lately I have started to experiment with Ink Aid and soon Golden's Digital Grounds. The advantages to these are the ability to print on just about anything that will fit in your printer. The thickness should be listed in your printer spec's, found on the website or manual. Mine prints to the width of a flat penny. You can make a gizz-mo that is as thick and test your substrates for fit.
Everything you do will be your teacher, just try.
Silk Organza- I simply use the regular paper setting on my Epson 2400. However, I do slightly increase the Saturation or Intensify hue in Photoshop.
This slightly increases the color, which looks a little too much while in Photoshop, but when printed on the silk organza comes out just fine. Since this action is not directed at the printer, there is no ink pooling. There is some bleed though, but that is to be expected when working with sheer materials of all kinds.
I often use the paper substrates in collage. Quilting Arts offers a DVD with that goes over my Holographic Memories technique.

 I use inexpensive brayers, found at any hardware or dollar store, to create textured printing. Use inexpensive sponge, foam and textured brayers.


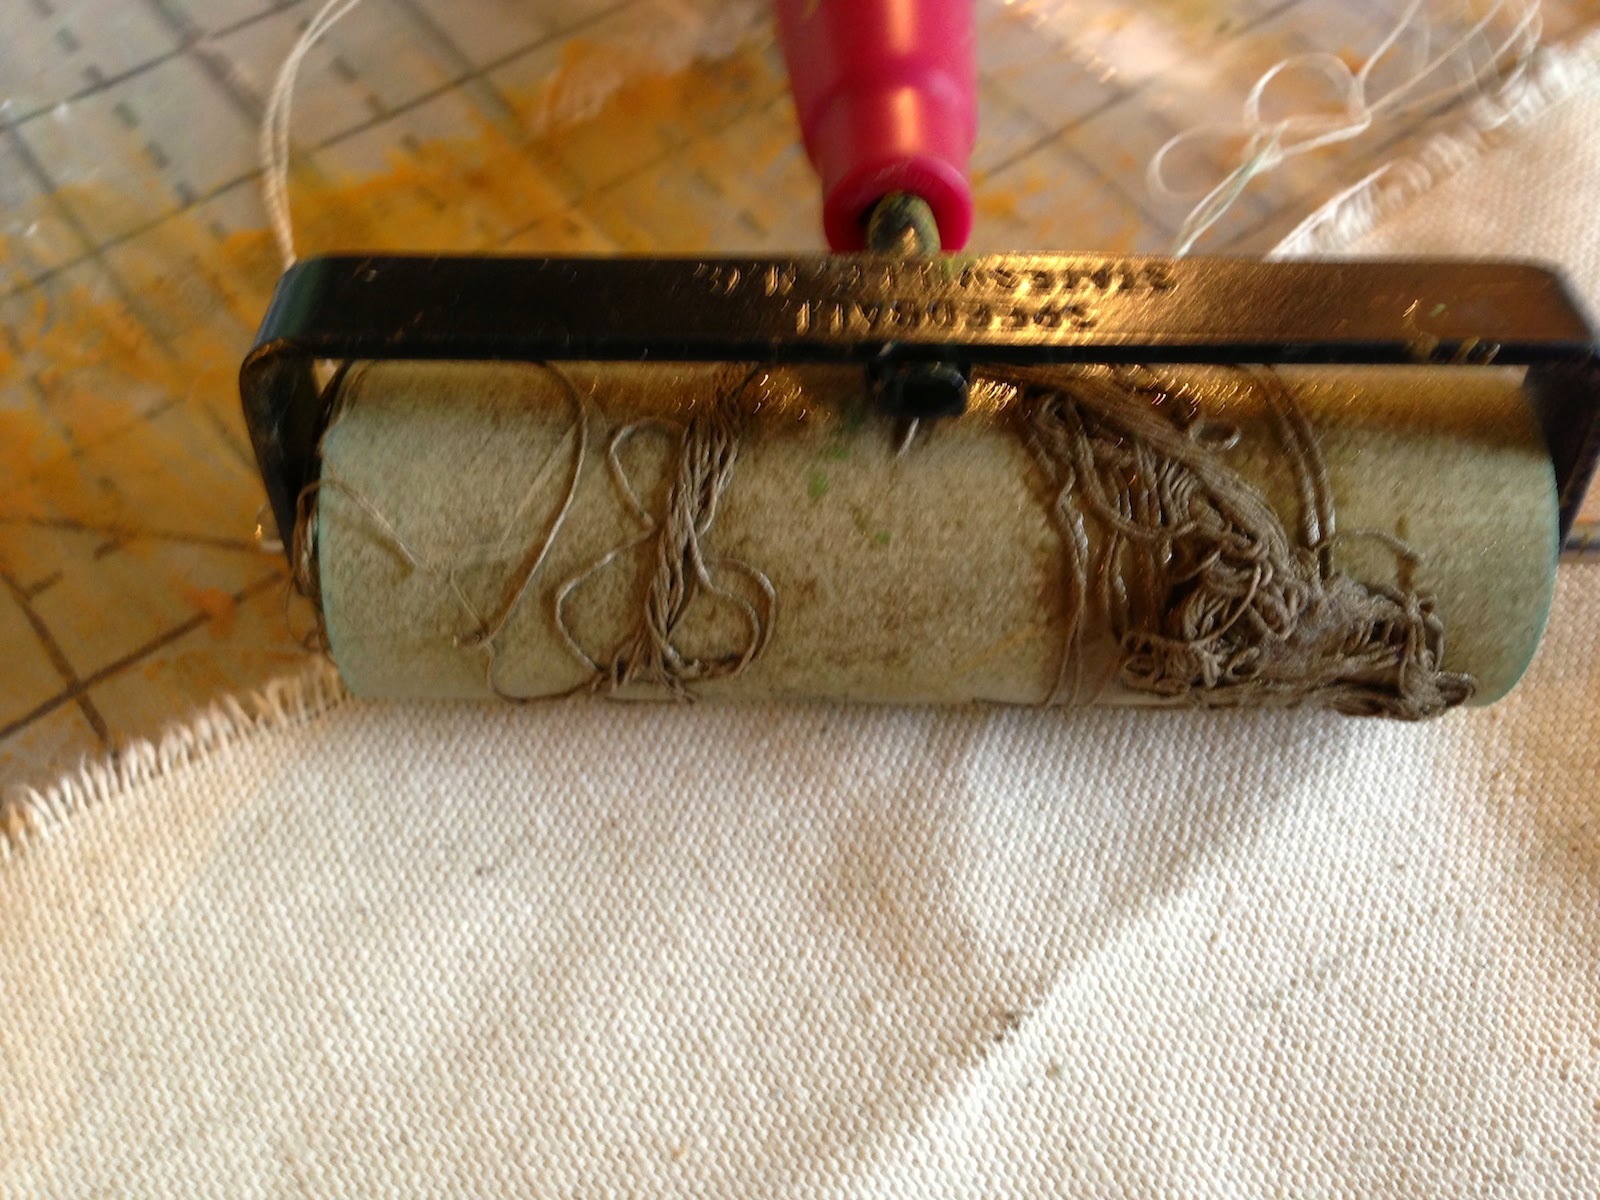
 simple thread tangled on a brayer


