Thursday, December 3, 2020

 Hi Everyone! I'm uploading a series of 10 or more small videos that highlight techniques in my book, Digital Fiber Art and other Mixed Media Surfaces on You Tube!

You can find my book on CT Publishing, Amazon or your favorite book vender.
Please enjoy and let me know what you think!

Travel here

Open / No Theme” Online Art Competition

proud to announce my inclusion in the mixed media category of Contemporary Art Gallery Online “Open / No Theme” Online Art Competition"
 Enjoy!

here


Friday, November 27, 2020

Art Signature Journal- Smell the Mint, Hear the Forest!

Hi!  

I've been making all sorts of journals for years now. One of the easiest and quickest is the simple signature journal. I'll share a few steps, how-to's, here but first here's a picture off the internet where you can find more on this. This journal has 2 more holes on either side of center. But you can choose how many holes you want!

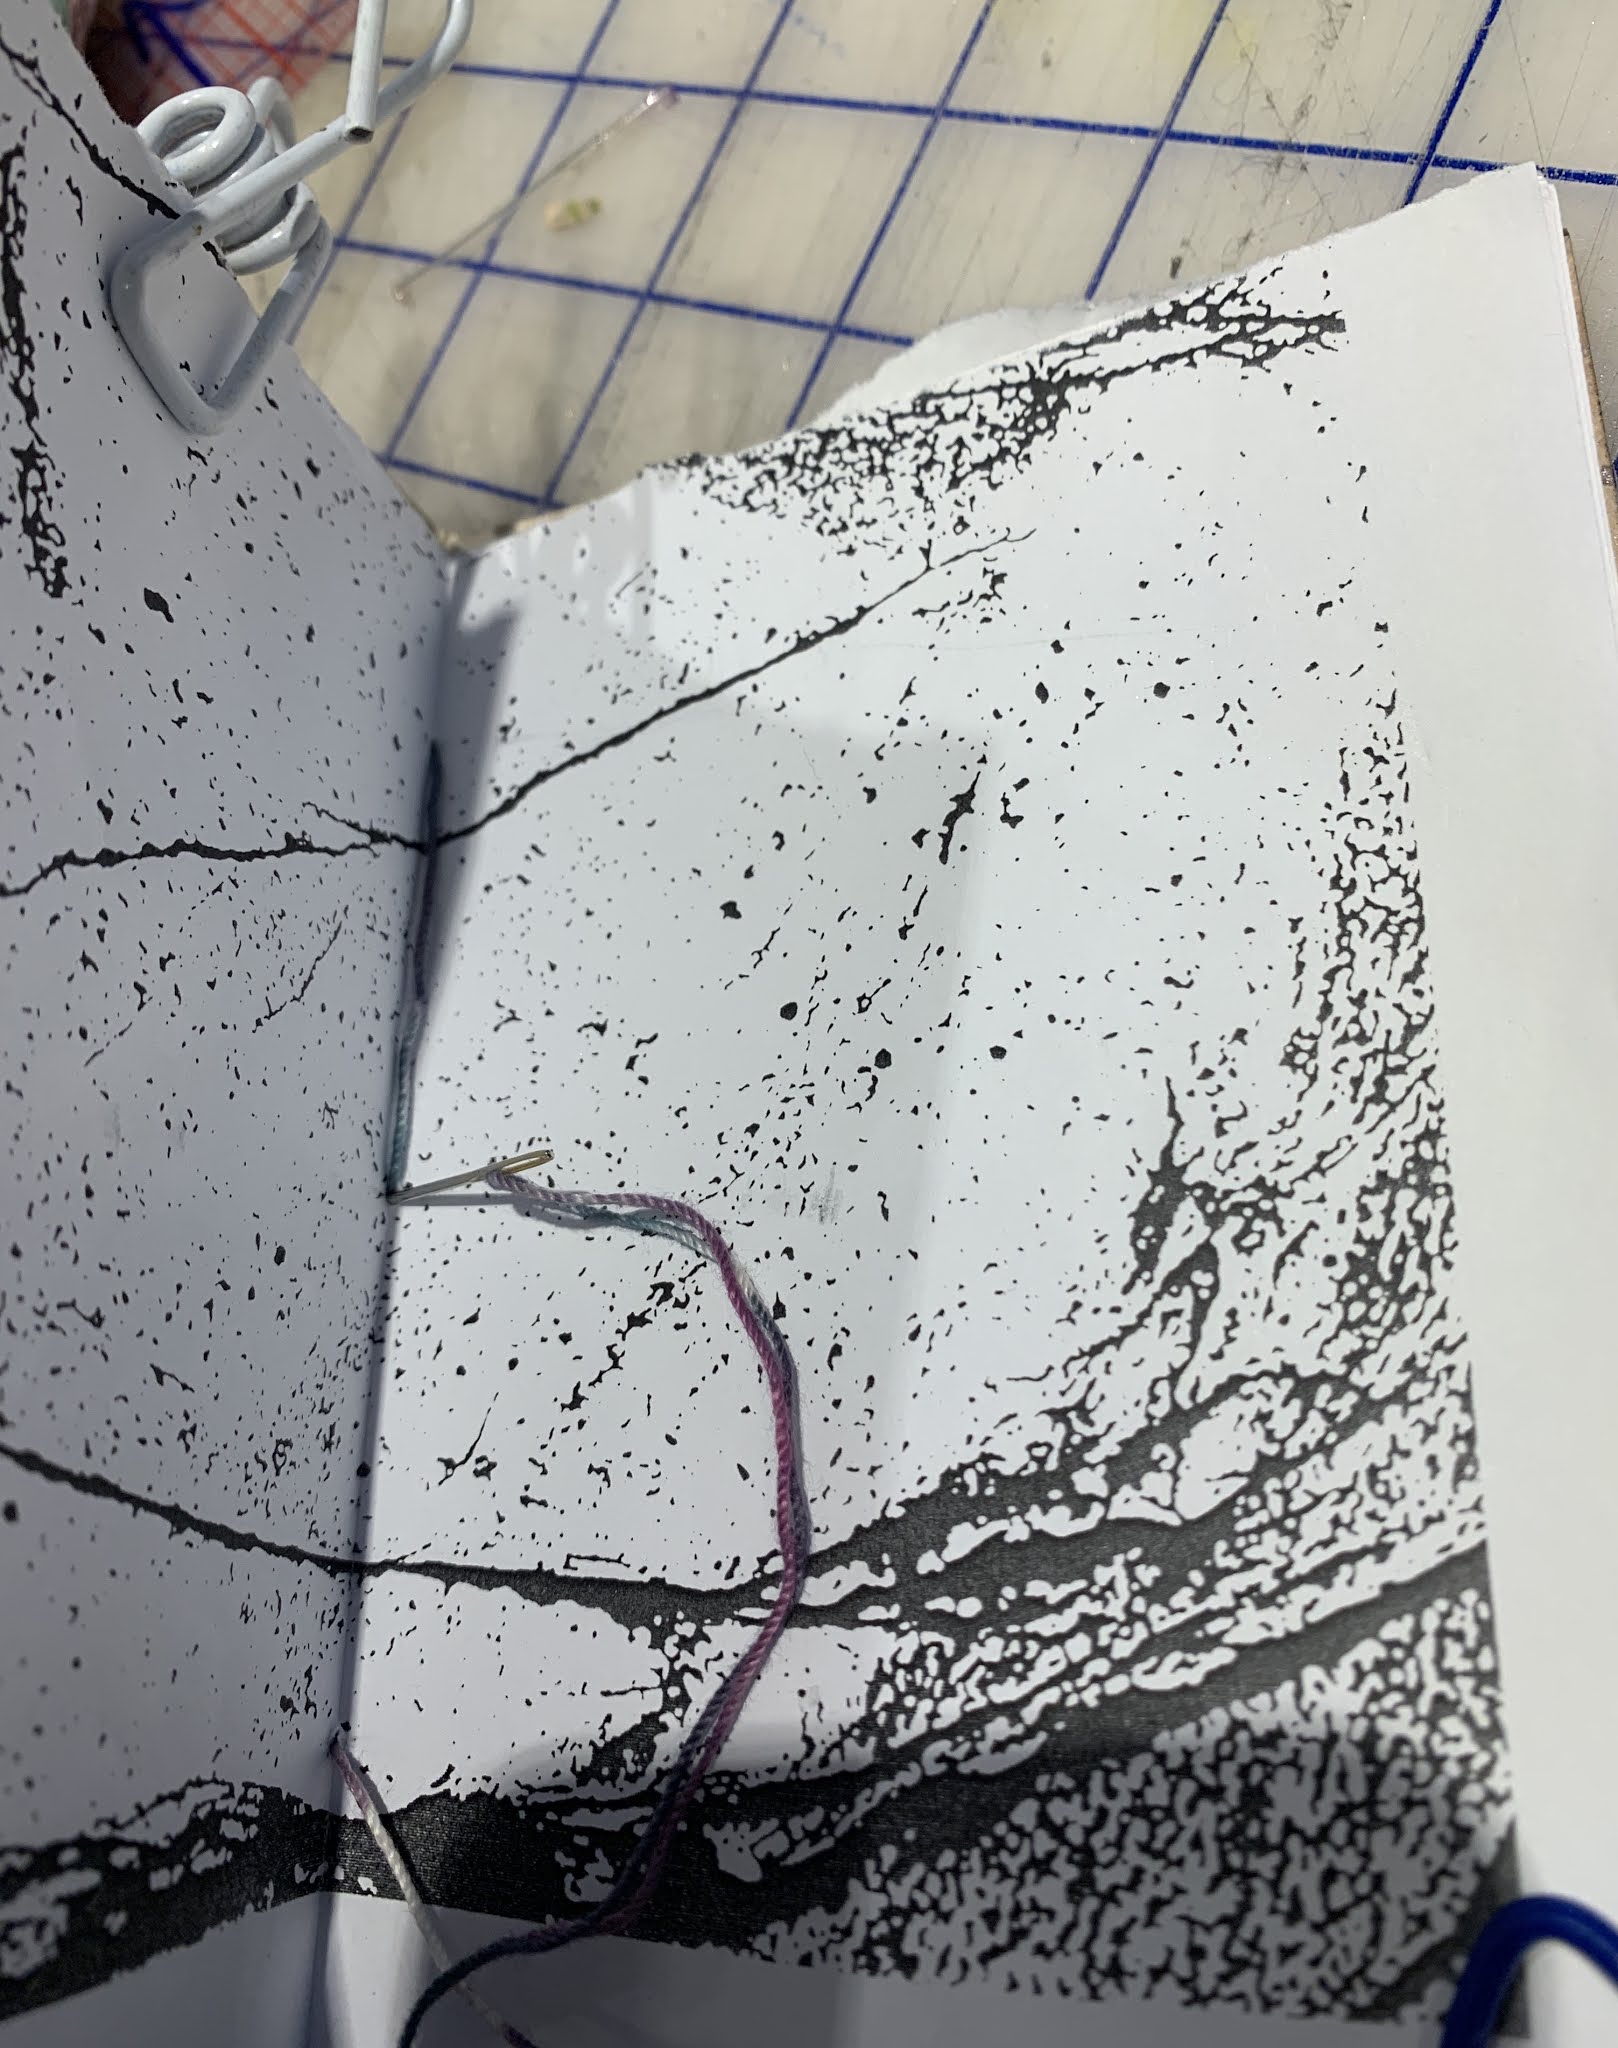
Gather your cover, mine is painted 140 cold press watercolor paper and your pages. I am using a mix of painted drawing paper, torn to size and scrap inkjet prints. The inkjet prints were generated for use with a thermal fax machine so I have lots of extras but you can print them just for pages in your journal. This one is photo of rock lines, edited to pure black and white. I used it for my 'centerfold'.

After tearing and folding pages, gather in the order you like and clip them to prevent them from slipping around.
Make a hole in the center with an awl. You can measure, but for these I generally eyeball.
Thread your needle. I use a crewel size needle. Use strong thread such as pearl cotton, buttonhole thread or waxed linen thread. Insert needle either from inside or outside. The last step will leave the threads where you start.
Enter the threaded needle from outside the book, slide it down to bottom and make another awl hole about 1" from bottom and go from inside to outside with the threaded needle. 
Then make another another awl hole toward top and enter again from the outside. The thread will leave a long 'stitch' along the spine.

Bring the needle back through the first hole.
And on the outside place the 2nd thread on either side of the long 'stitch' on the outside binding edge.

Tie a square knot and trim threads to the length you desire. 

You can also tie charms to these! Done!

Tuesday, November 24, 2020

Art is...

 Art is so many things it is hard to pin down. 


The elusive nature of it speaks to the fact that, part of it, is exposing the tender side of the artist's soul. The viewer responds and this creates a dialogue. 


That to me is art. A connection. A communication. 


It can be fine art, fiber art, pottery even jewelry. There is no firm definition so let’s just draw the circle larger.

Tuesday, November 17, 2020

Time

 A silent stirring. Was it the wind or a bird outside my window? The morning talking, waking me from slumber, pressing me to begin, begin! This day, this gorgeous day, another new & precious day to write upon! What treasure will I find? What secret longing to fulfill? Oh yes, I have the down days, the gray days, the days I question. But as I grow older, ripe with experiences, my time more precious, the less I want drama, the less sucking me down into black holes, I come forward from those times with a renewed vigor for the simple, unadorned pleasures. 


Tuesday, June 23, 2020

Monday, March 23, 2020

Sunday, January 26, 2020

Serendipity Collage

Two postcards from my previous workshop Serendipity Collage. Basically, we created all of the materials with paint & surface design. Apply to a base with gel medium, ending with the top layer of transparent fabric & tissue. The tissue is applied carelessly so it wrinkles.

It becomes almost transparent & adds texture. The base can be fabric or paper, maybe 10 x 15 or 20 x 30 but any size. Then we hit the whole thing with more mediums- some we create ourselves, top it with white gesso using a almost dry brush, apply it almost parallel so it only hits the top of the peaks of the collage. At this point you can go back in with more paint, text, whatever. Then the surprise happens because we cut it up! So if you have a 10 x 16 Base, you can cut them up into 5 x 8 pieces. Or the 20 x 30 could be cut into 10 x 15 pieces or 5x 7 and so on. That’s the advantage of having a really large base to begin with.
What is absolutely amazing and the point of the whole activity is the serendipity or flow that you are in when you make the collage and each little piece that you cut off become tiny little compositions.
It’s amazing how it works!! I loved this process!
Related Posts Plugin for WordPress, Blogger...