Lovely to be accepted into Fantastic Fibers 2025!
Beyond the Abby Window
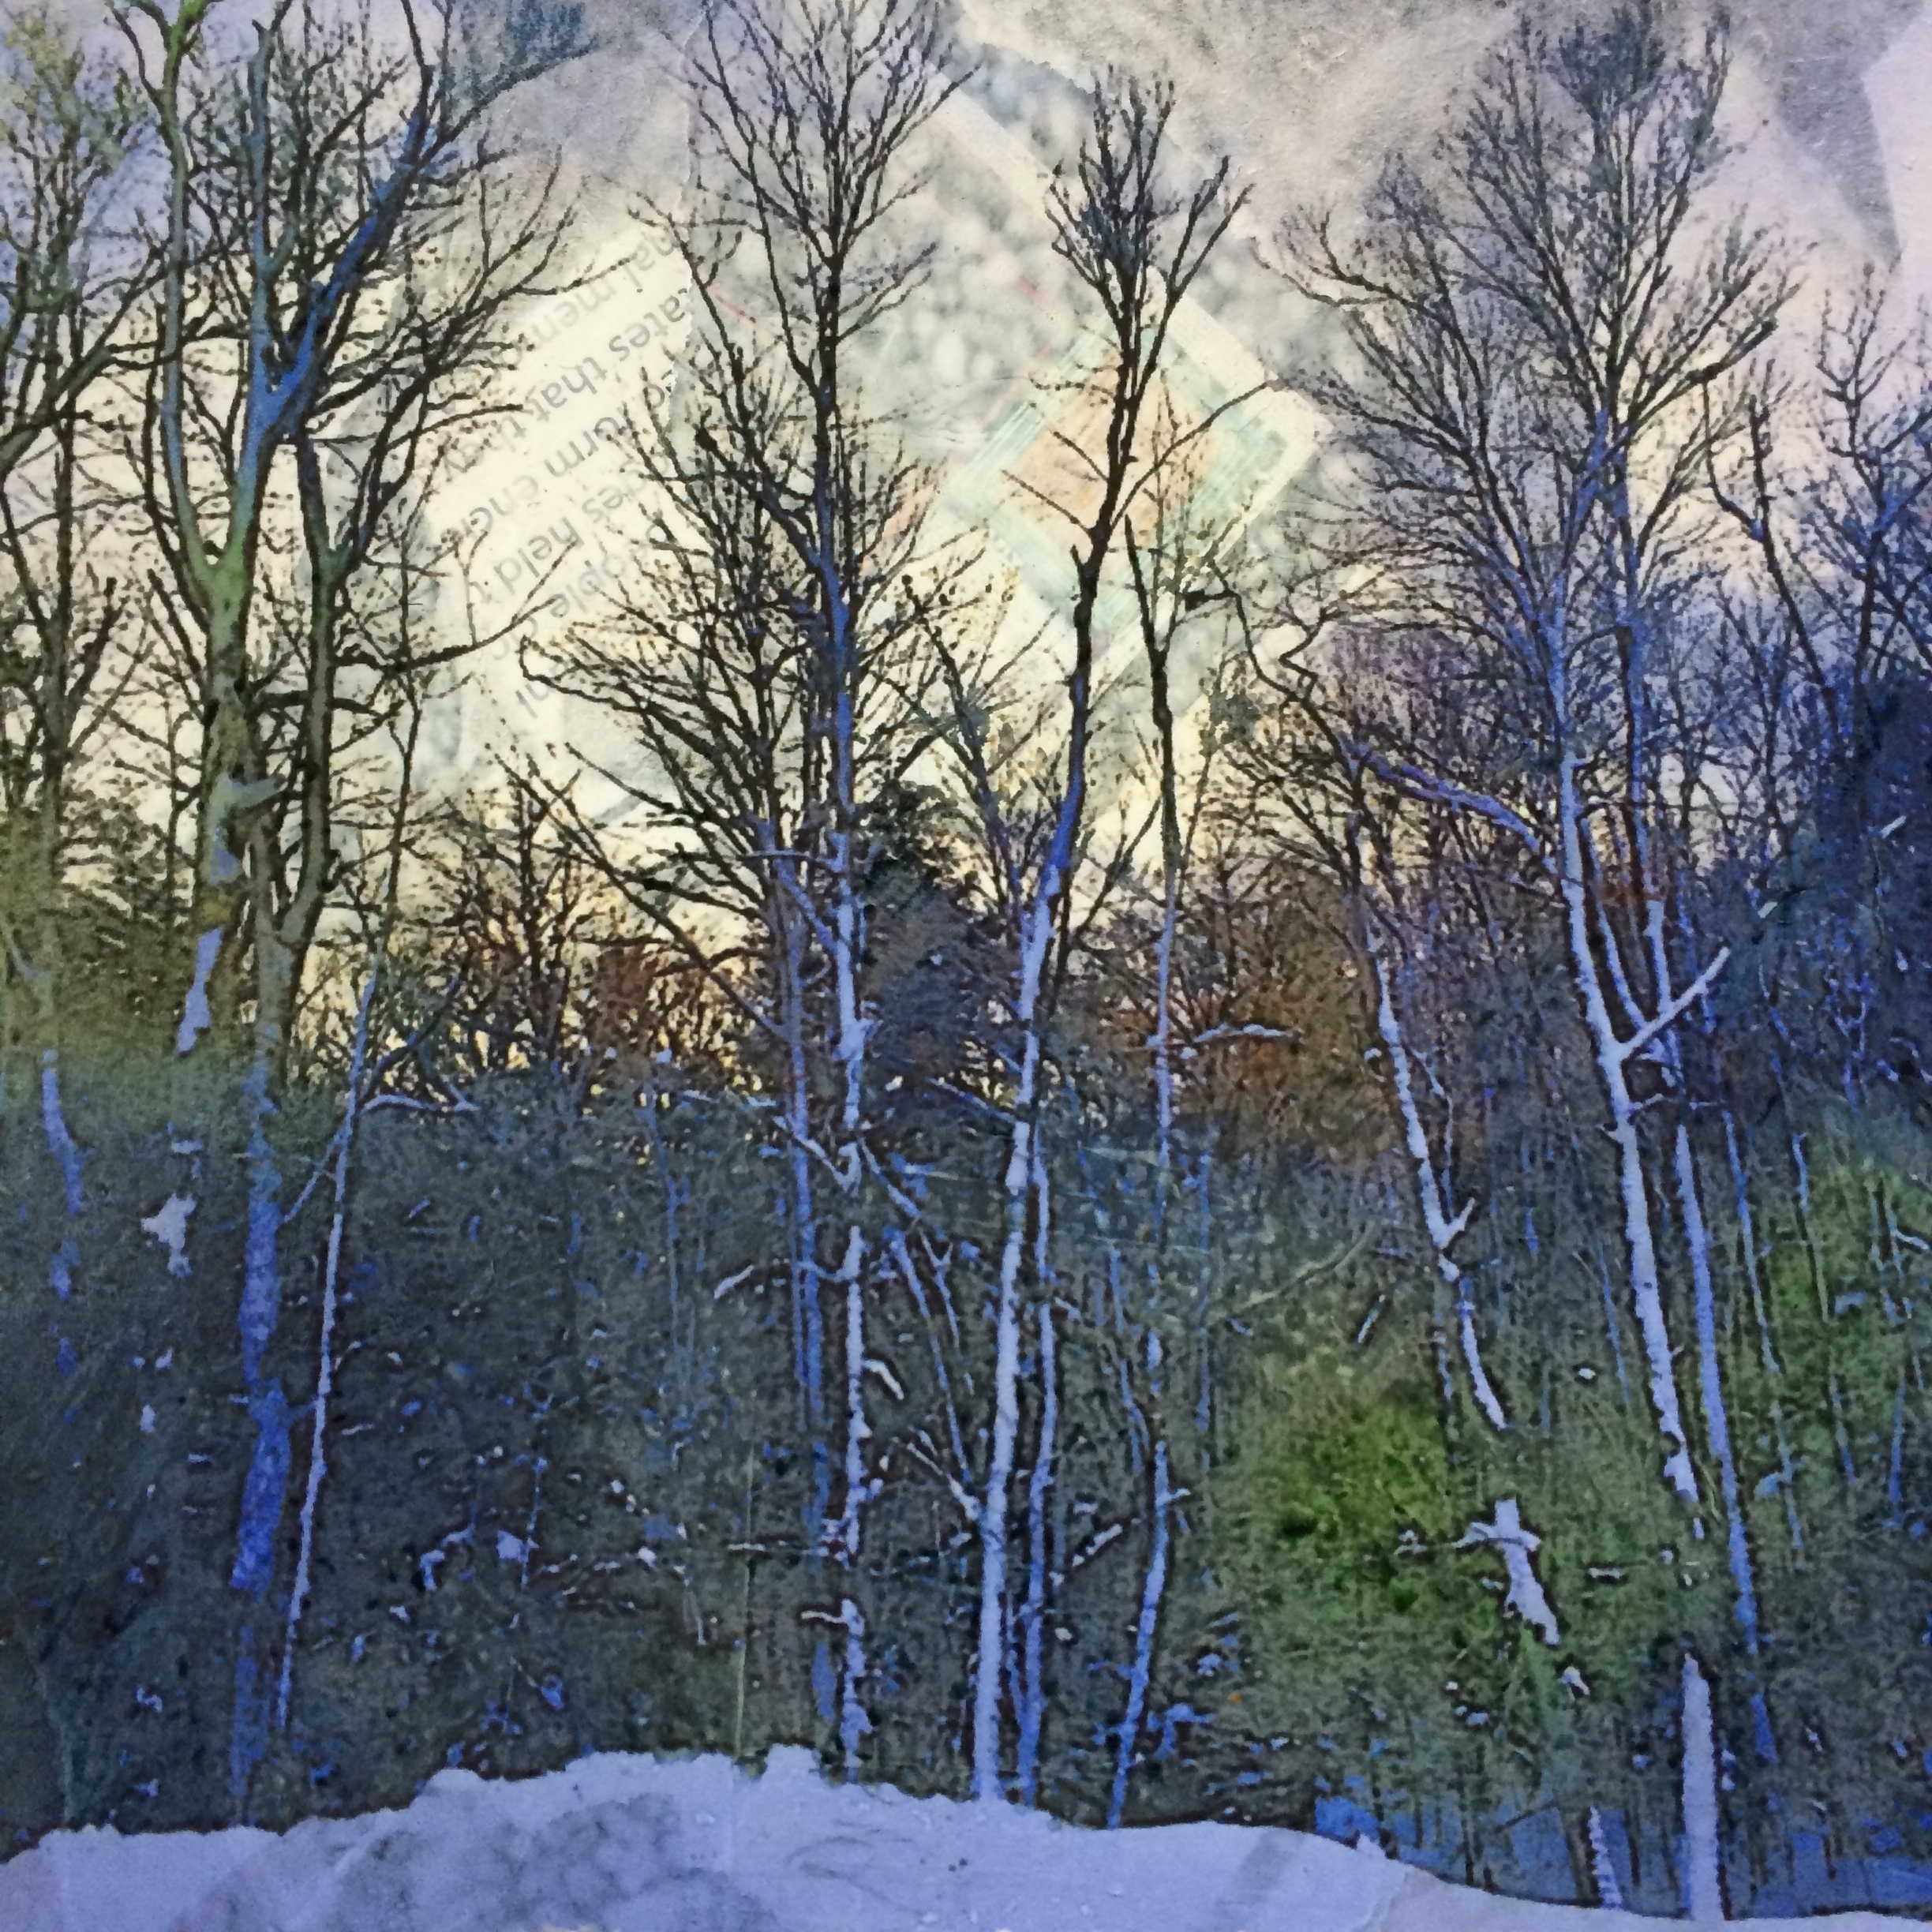
Digital Fiber
Materials- recycled book
pages, artist printed digital silk organza, scrim, pearl cotton, stitched text,
hand stitching.
Techniques- manipulated artist imagery and inkjet printed by artist on digital
ready materials.
A
divided photograph, printed on old book pages, fractures the view while the
same image, printed on digital silk organza, floats above creating an almost
3-D effect. A collage of white silk organza with scrim and tissue lifts creates
a surround. Machine and hand stitched.
32hx22w
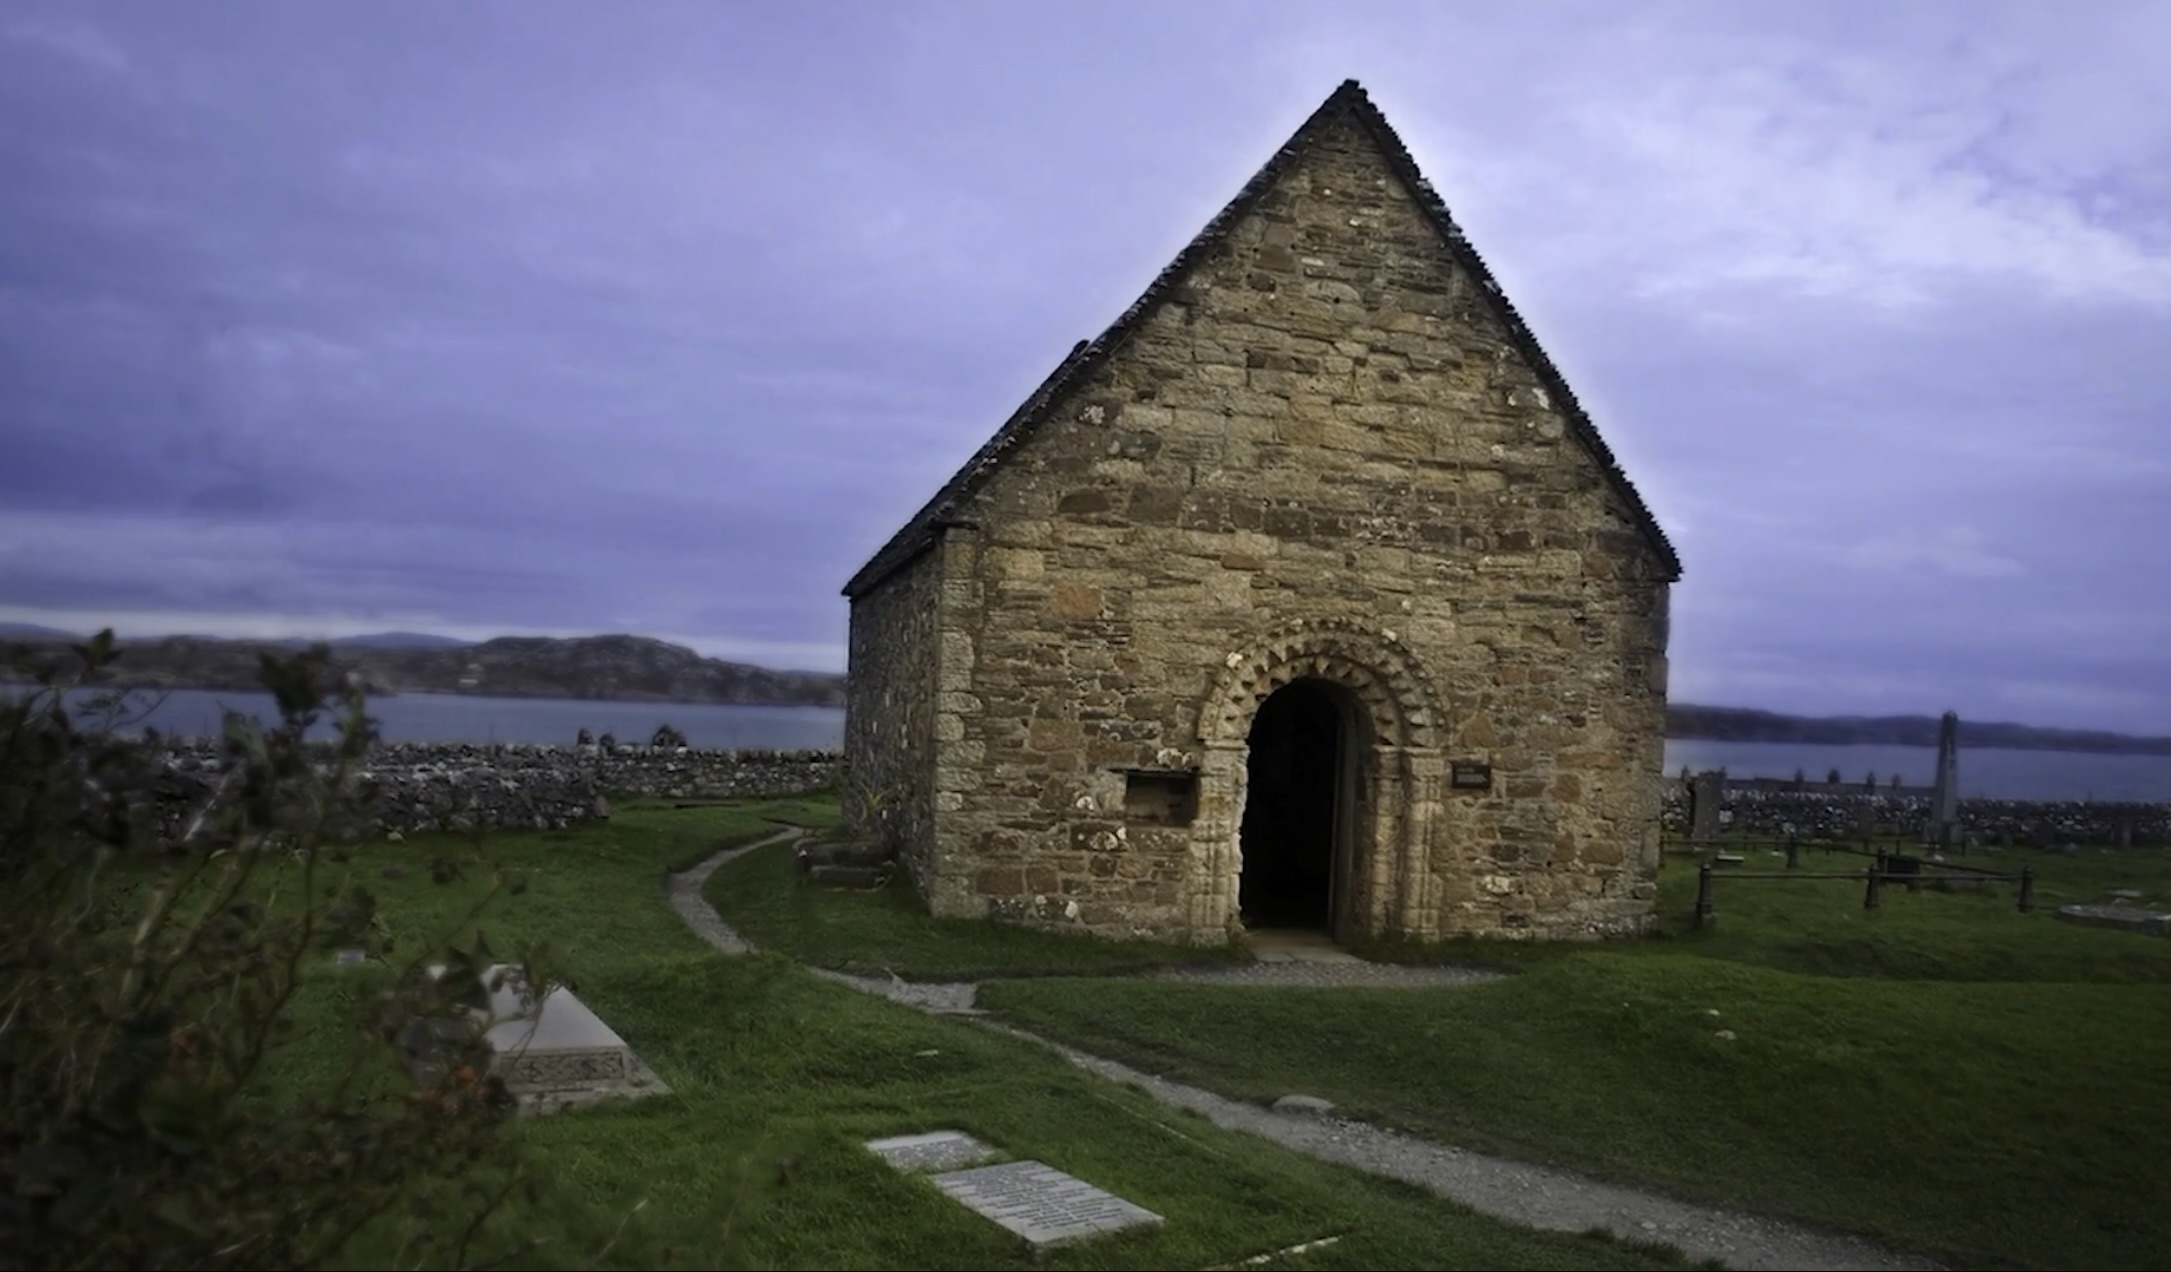
Text- The old walls
glisten with age
setting
off a single arched window,
shimmering
a golden radiance
from
the sunlit vista beyond.
The
distance rumble of ocean waves,
fill
the nearly empty room,
echoing
from the bay below.
Catching
smells of damp salty air,
I
felt transported across the ages
to
when Iona Abby was first used.
There’s
a certain peace within
as
if the prayers of so many, so long ago,
still
reverberated, bound in its walls,
captured
in stone for me and
anyone
else who cares to listen.
Exhibit is March 18th to May 3rd, 2025 at the Yeiser Art Center, KY
The Abby